How to Refresh Your Garden for Summer
As the weather warms up, it’s a great time to give your garden a bit of attention. Whether you’re working with a small courtyard or a larger space, a few well-chosen updates can make a big difference. From simple weekend jobs to small structural improvements, these practical projects will turn your garden into a space that you love spending time in!

Replace an old fence or cover walls with slatted battens
Tired brick or render dragging down the look of your garden? Create a sleek, modern screen using slatted battens and provide an instant upgrade to your outdoor space.
Here’s how:
- Measure your area – Decide how tall and wide your screen needs to be and measure the space.
- Fix vertical battens – Start by attaching vertical supports to the wall or existing fence using masonry or wood fixings. These will act as the frame for your slats.
- Add horizontal slats – Fix the slatted battens directly across the vertical battens with screws, spacing them evenly using offcuts or spacers for a uniform gap.
- Treat – Finish with a wood treatment such as Ronseal One Coat Fence Life for longevity.
This technique works especially well for small courtyard gardens, giving you a contemporary feature wall with minimal effort.

Consider a new patio for a sleek, clean finish
If your patio or path is cracked, uneven or worn, perhaps now is the time to invest in a new patio. Porcelain Paving is a good option for a modern, low-maintenance finish. It’s:
- Easy to clean
- Resistant to frost and algae
- Available in a range of colours and finishes
Porcelain paving is also a great product for using inside and out, creating a seamless flow between indoor/outdoor living. Whether you’re stepping out from a kitchen, sunroom or open-plan space, the porcelain’s smooth, sleek surface makes it perfect for extending your interior style into the garden, especially when using similar tones or finishes.
Shop the materials:
If you’re confident in taking this on yourself, or just want to understand what’s involved, here’s a list of what you’ll need, all available from Robert Price:
- Porcelain paving slabs – Choose from contemporary finishes like light grey, anthracite or sandstone effect
> View Porcelain Paving - Azpects EasyPrime – A bonding slurry that helps porcelain slabs adhere securely to the mortar bed
> View EasyPrime - Azpects EasyJoint – Fills gaps neatly and helps reduce weed growth
> View EasyJoint - Sharp sand and cement – For mixing your mortar bed
> View Building Materials - Optional – Use MOT Type 1 sub-base if laying on a new or uneven surface
Shop the tools:
- Mixing bucket or tub
- Rubber mallet (to level slabs gently)
- Paddle mixer (for mixing mortar or slurry)
- Angle grinder (with porcelain diamond blade)
- Spirit level and string line (to ensure even laying)
- Broom and hose or water supply (for jointing)
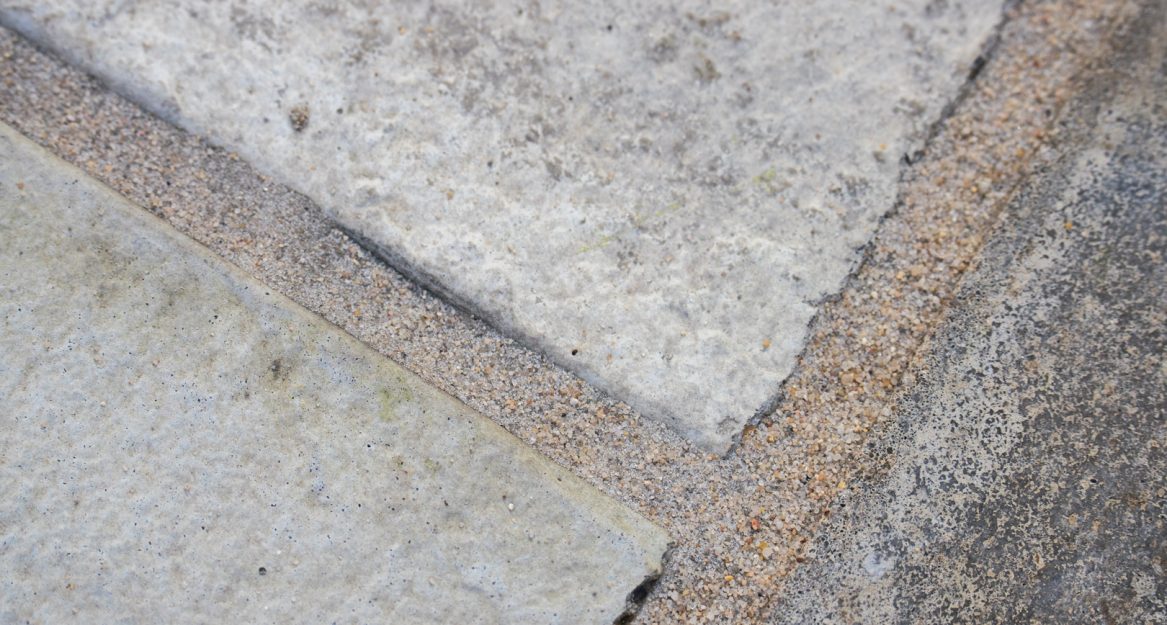
Finish paving neatly with a professional jointing compound
A well-laid patio deserves a tidy finish. A jointing compound like Azpects Easy Joint Select helps fill gaps between slabs and gives a professional look, it also helps reduce weed growth and improves drainage. It’s available in several colours so you can match it to your paving for a consistent look. Make sure you choose a jointing compound that’s compatible with your type of paving. We stock options suitable for both natural stone and porcelain, but EasyJoint Select is ideal for porcelain slabs, it offers a finer, smoother finish that complements the clean lines and modern look of porcelain paving.
To apply:
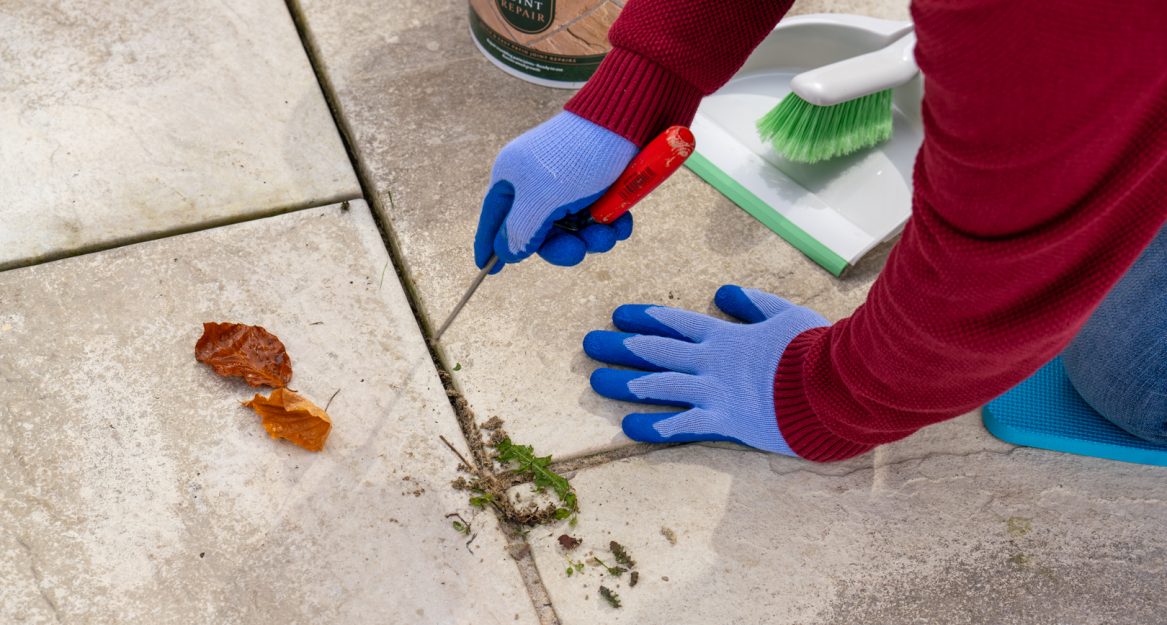
Wet the paving thoroughly before you begin. This helps prevent the compound from staining the surface and makes it easier to work into the joints. Ensure the area is cleaned and any weeds removed.
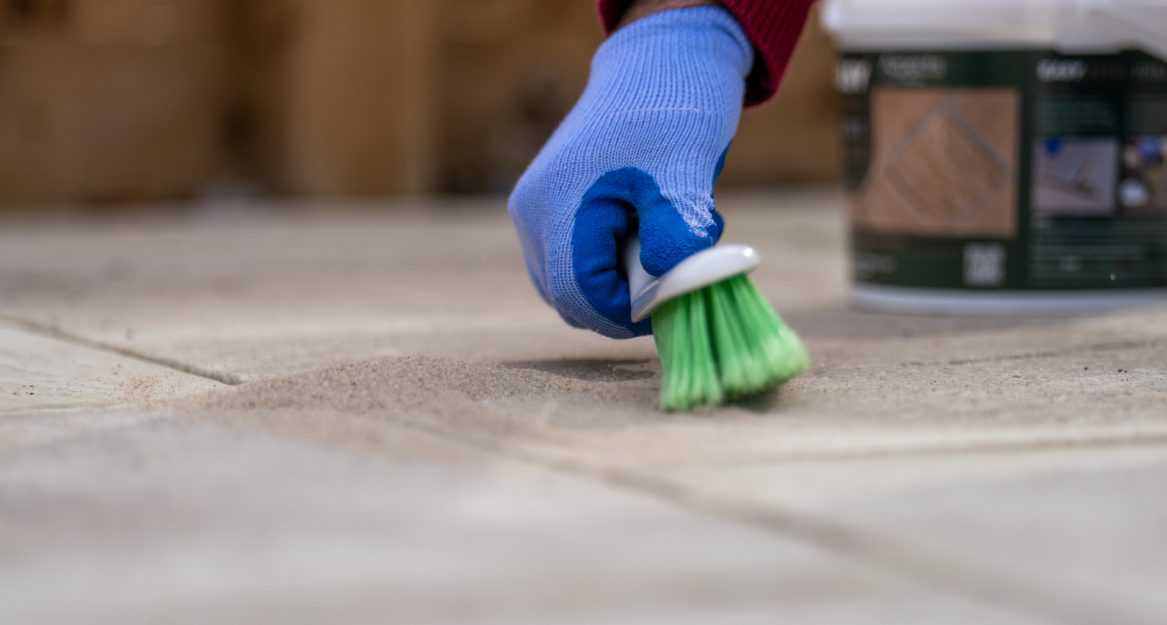
Pour the compound directly onto the wet surface and use a soft broom or squeegee to sweep it into the joints. Work in different directions to make sure all gaps are fully filled.

Spray the area with a fine mist of water while sweeping the compound in. This helps the product flow and settle properly into the joints. Once all joints are filled, lightly mist the surface again. Use the broom to remove any residue and compact the compound into the joints for a firm finish.
After the joints are filled, you can use a pointing trowel or jointing iron to lightly press down and smooth the compound. This step isn’t essential but helps create a neater, more professional-looking finish — especially on high-traffic areas or visible patio edges.
Lightly spray or rinse the area again to remove any residue. Avoid pressure washing, just a hose or watering can is enough. Let the jointing cure fully before walking on it – usually 24 hours, but always check the product label.
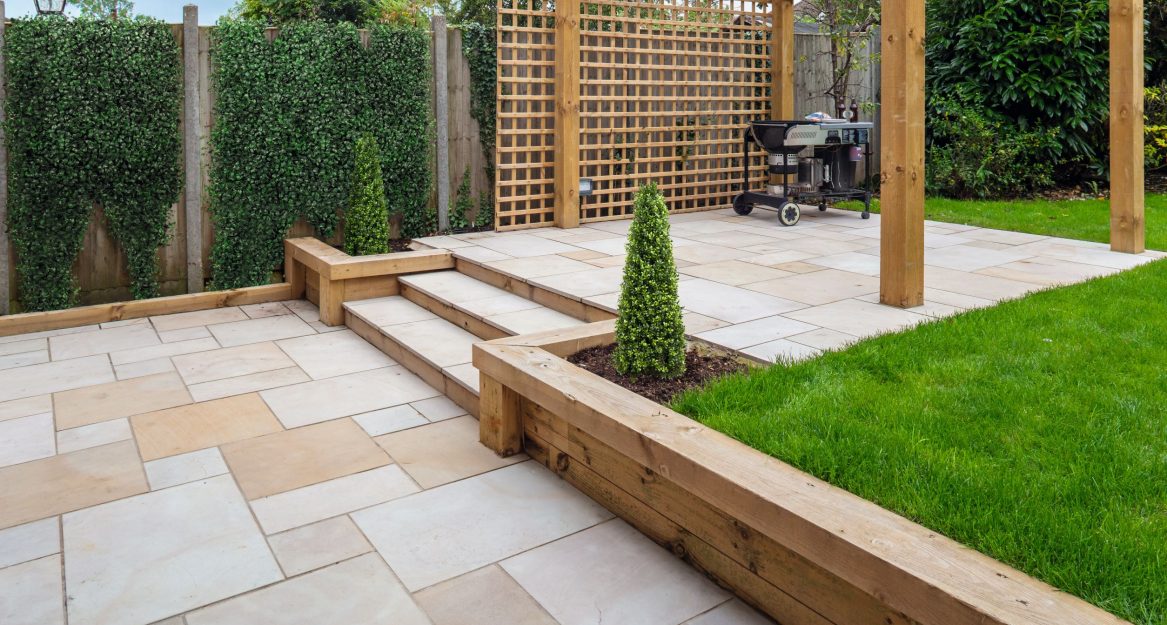
Build raised beds with sleepers
Raised beds are great for growing herbs, flowers or vegetables, and they help bring structure to a garden. You can build them easily with timber sleepers; choose treated softwood for general use or oak for something longer lasting.
Choose your materials:
- Softwood sleepers – Great for general garden use, pressure-treated for longevity
- Oak sleepers – A more robust, longer-lasting option with a premium look
What you’ll need:
- Saw (circular saw, mitre saw or handsaw)
- Drill with wood bits
- Screwdriver or impact driver
- Wood screws or sleeper-specific fixings
- Timber for Supports, or, Perry Sleeper Secure spikes and brackets
- Spirit level
- Optional: landscaping fabric and gravel for drainage
How to create an overlapping link wall effect:
- Plan your layout:
Mark out the size of your bed using small stakes and string. A 1.8m x 1.2m shape is a good starting point for a veg planter. - Cut to stagger lengths:
To achieve the overlapping look, cut some sleepers shorter so that corners alternate. This then helps lock the structure together solidly and prevents any movement over time. - Lay your first layer:
Position the base layer of sleepers directly on the level ground or a compacted sub-base. Use a spirit level to check everything is even as you go. - Add layers and fix securely:
Use the Perry Sleeper Secure spikes and brackets kit to fasten each layer together vertically. Ensure that you pre-drill your holes to avoid splitting the timber. - Line and fill:
For growing vegetables, line the inside with landscape fabric and add a layer of gravel before topping up with compost or soil.
Add details to tie it all together
Once the main projects are done, the details make all the difference:
- Use decorative gravel to tidy up paths or borders
- Add trellises and fence toppers for adding height, softening walls, or supporting climbing plants and flowers
- Add solar lights or lanterns to create an atmosphere in long summer evenings
- Refresh planters or hanging baskets for an instant lift and a pop of greenery
- For more storage or space for entertaining, our garden sheds and summerhouses are easy to build and look great in any outdoor space!
Make more of your outdoor space
Giving your garden a refresh doesn’t need to be complicated or expensive. With a few straightforward updates, you can make your outdoor space more enjoyable, whatever its size. If you’re not sure where to start, visit your local Robert Price branch or explore our landscaping range online. We’re always happy to help with ideas, inspiration and practical advice.